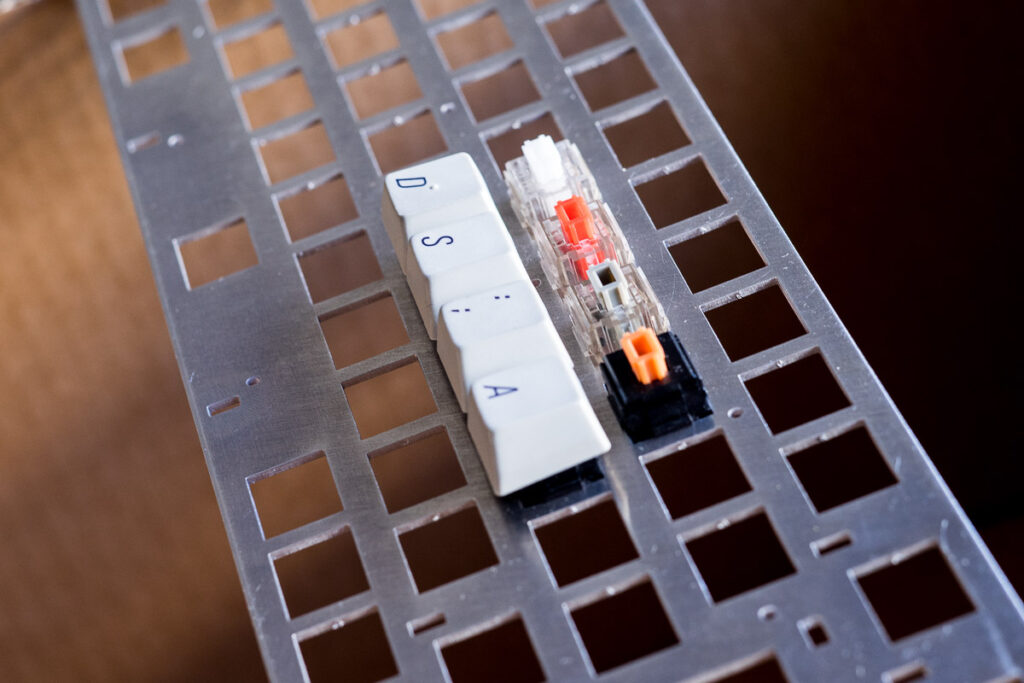
A parcel arrived at my doorstep today, containing the switch plates. And let’s hope everything about this project turns out as well as this. I ordered two plates from a sheet metal company, and they delivered four. For two plates the order was rather pricey, but I guess this makes it half the price? And I’m definitely going to have a use for four plates. I guess I wont get that good a price again, but if I were to order some quantity, the price per unit would naturally go down. I think I might have found my switch plate supplier.

I’m not sure why I got two extra plates, maybe somebody misunderstood and made two plates of booth kinds. But here’s the best thing of all: they work. Measurements are perfect. I can press a switch in place and it sits snugly, even if I pull off an attached keycap off.
So. I think these are enough for mock-ups. I can test out if all the supports I’ve designed for are really necessary, and in the right place? Hopefully my next post will show a proper build, I think it’s about time.
The plan right now is to simply make a wooden frame that fits one plate. An open bottom will make it easy to solder everything in place. This will, firstly, let me get a feel for the layout and the switches. Second: I’ll get a hands on opportunity to develop the switch matrix, witch together with the control unit shall give me the first clues as to how my PCB will be constructed.
By the way…

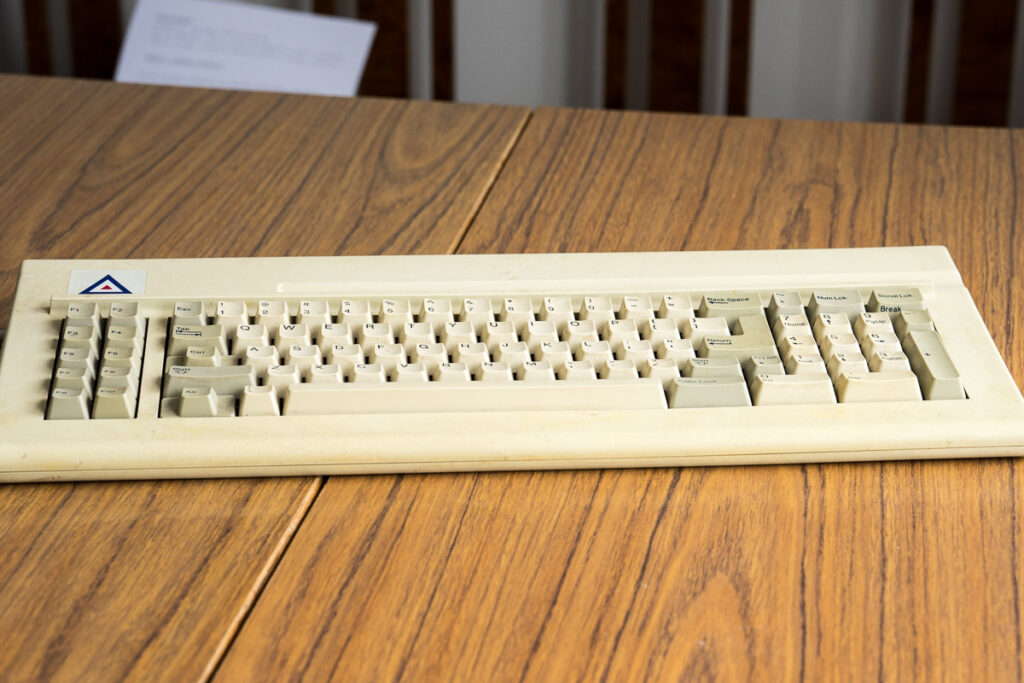
I now have the privilege to blog on a Leading Edge keyboard. The blue Alps switches are terrific. Along with a minimalistic word processor (Wordgrinder) that runs in the terminal, I have a down played, retro writing environment.
I shall make a post about the restoration and modification, even though it might be a bit off topic. This is not an Endgame keyboard, unless you want a few keys scattered about, and a couple of them missing, like F11 and F12.

Leave a Reply